Rasial, the First Necromancer
AI-assisted additive formatting; current PvME source words, order and media preserved |
Update source attribution; preserve PvME guide content |
||
| Line 420: | Line 420: | ||
</div> | </div> | ||
<div class="pvme-source-attribution">[https://pvme.io/pvme-guides/rs3-full-boss-guides/rasial/ PvME source] · PvME contributors · [https://creativecommons.org/licenses/by-nc-sa/4.0/ CC BY-NC-SA 4.0] | <div class="pvme-source-attribution">[https://pvme.io/pvme-guides/rs3-full-boss-guides/rasial/ PvME source] · PvME contributors · [https://creativecommons.org/licenses/by-nc-sa/4.0/ CC BY-NC-SA 4.0]. | ||
</div> | </div> | ||
Latest revision as of 02:36, 16 November 2026
Rasial, the First Necromancer
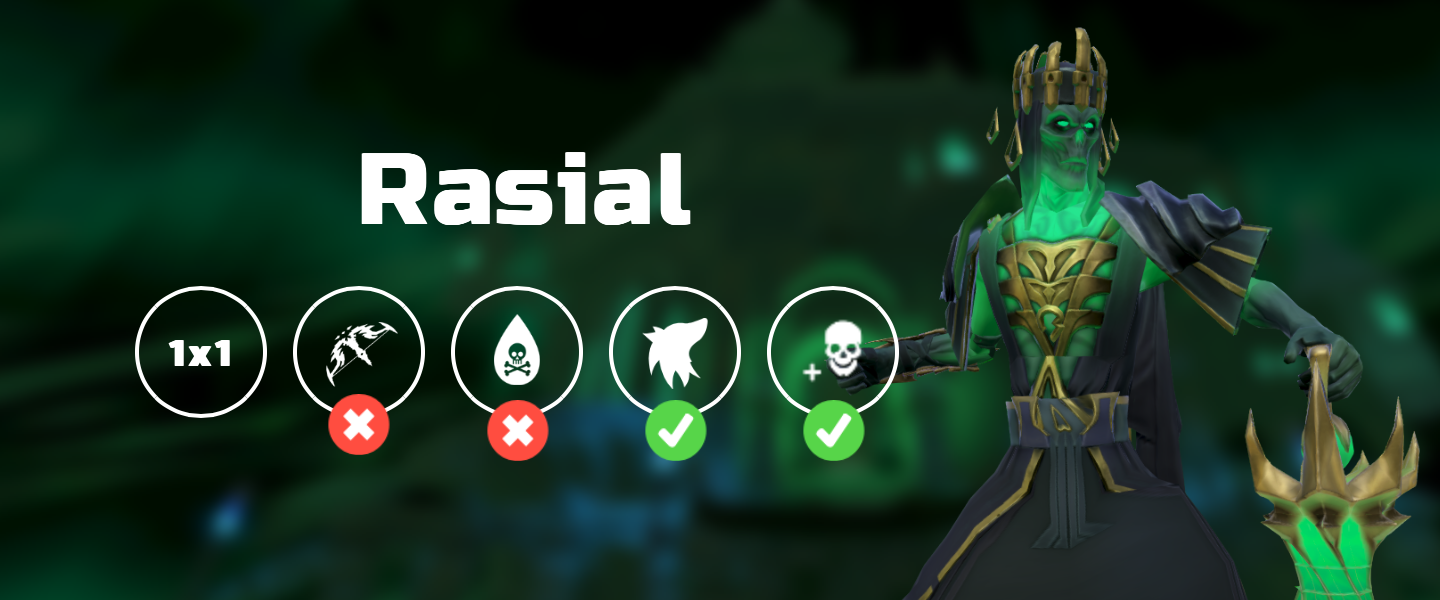
Introduction
In order to fight Rasial you must complete the Alpha vs Omega quest. Rasial deals Necromancy and typeless damage, and can only be killed using Necromancy.
Positioning
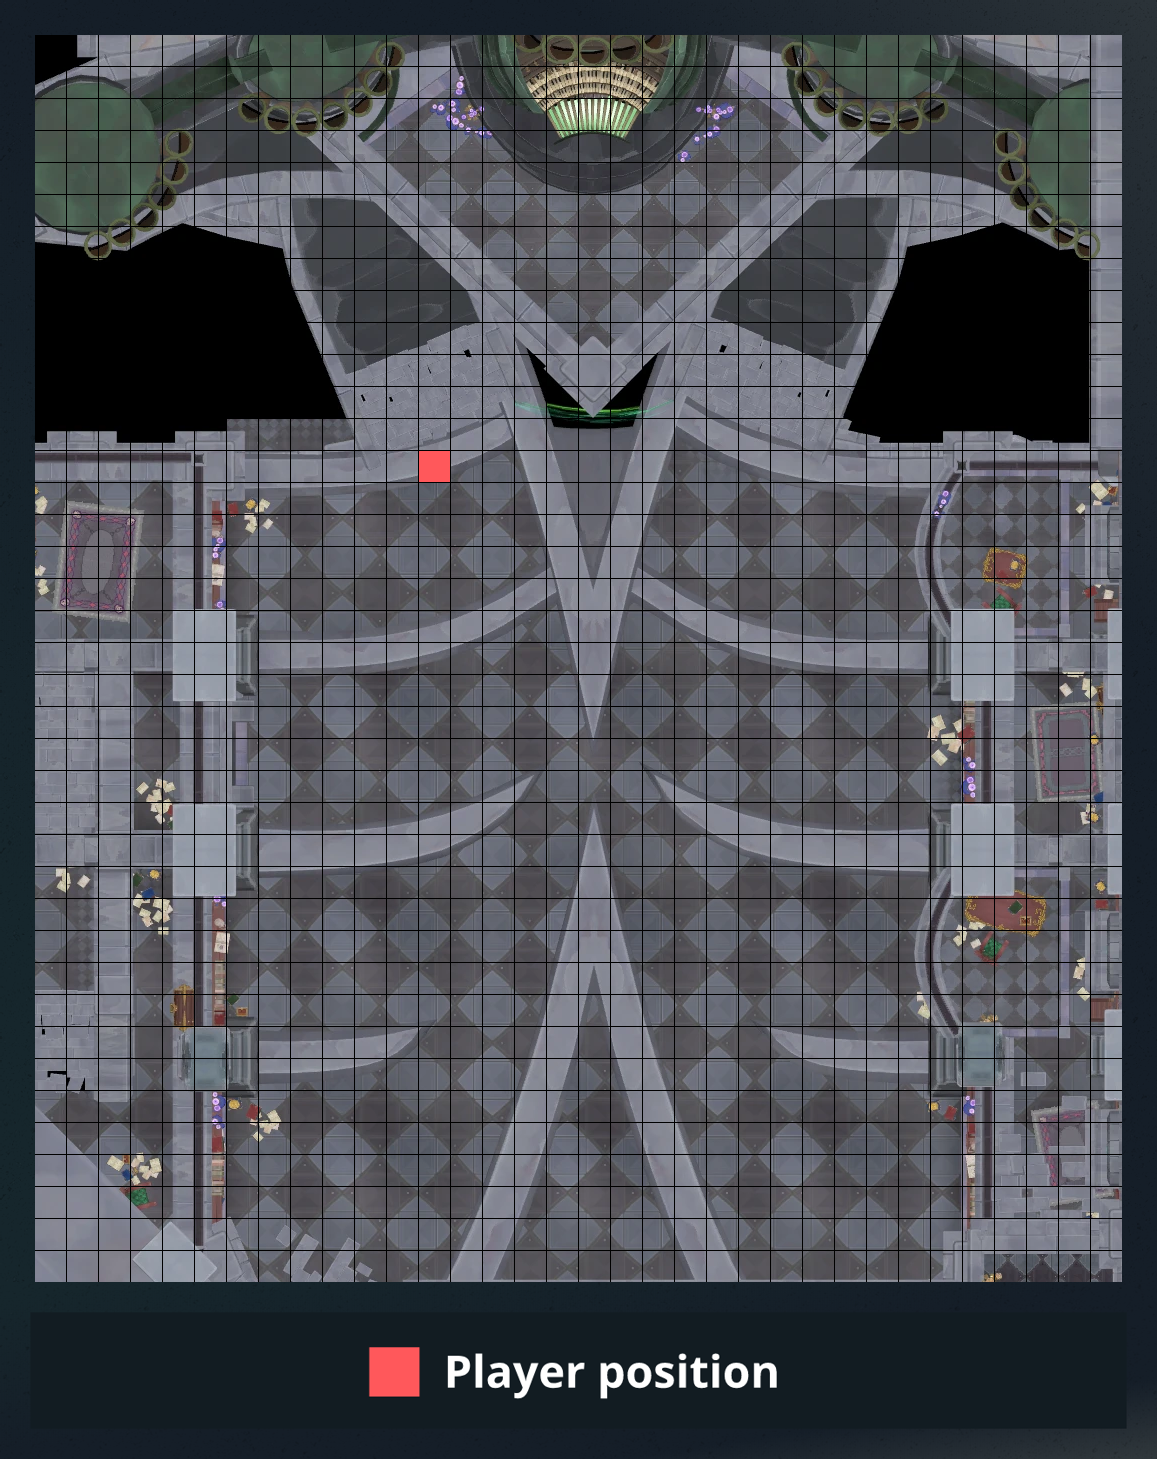 ⬥ The tile shown above serves as a safespot for the ghost wall mechanic.
• This tile is ideal as it keeps you 5 tiles away for quicker 
• For the soul obelisks, you may run 4 tiles west (toward obelisk), and 2-4 east.
⬩ Doing this allows to kill one of the soul obelisks.
⬩ This is only recommended if you have the ruthless perk.
⬥ For an in-game example of the correct tile being used, click here.
Mechanics
 to avoid the player if the player stands within a 2 square radius (scythe range) of him.
• It is not feasible to use
 against him.
• Getting this mechanic may cancel bounces.
 and putrid zombies
 to attack the player.
• Unlike the player, he can conjure multiple of each.
• It's recommended to ignore them throughout the fight.
 and use
 like the player, and holds up to 5 stacks, shown by green orbs under his health bar.
• At 5 stacks, he shouts 'This is true power!' and uses
 . Flick
 (+
 if needed) to avoid taking heavy damage.
• The rotations outlined below should skip this mechanic consistently.
stack.
• It's recommended to ignore this mechanic and focus on DPSing the boss.
 to avoid this stay within 5 tiles of Rasial for
• Standing next to the barrier will avoid ghosts entirely.
, shouting 'I will reap your soul!'

Requirements
The rotations may not work as well as intended if any of the following are missing:
⬥ Undead damage boosts  /
 /

⬥  /
 for
⬥ Conservation of Energy 
⬥ Fury of the Small 
⬥ Invigorating 4 
⬥ Equilibrium 4  (Can downgrade at the cost of damage)
⬥ Use  to mitigate damage taken or
 without

⬥ The Lunar spellbook can be used for 
⬥ All of the Necromancy talent tree unlocked.
• Greater bone shield  active.
T90 Equilibrium Rotation
WRITTEN BEFORE THE REMOVAL OF AURAS.
EQUILIBRIUM PERK SHOULD WORK BUT NEEDS VERIFICATION.
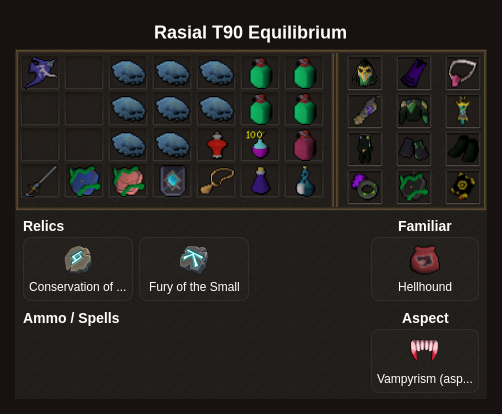
Rotations
⬥ This rotation seeks to consistently hit around ~1:45 kill times.
• Will require more improv for lower level setups.
⬥ and  help but are not required.
⬥ Skip  if using
 armour.
Pre-build
 →
 → + enter instance →
 + +
 →
 →
 +
Pre Living Death
(tc) +  +
 → → →

→  → → →
Living Death
 +
 → → →
 →
 → → →
 →
+ 2t → → → → → → / (if stacks) →
Note: and are used on the same tick.
Post Living Death
→ → → → →  → / → → → / → improv
Phase 4
+ → →  +
 + → → →

 → → → →
 → → improv
Note: is optional, but may be used during immunity or phase 3.
Equilibrium Rotation (Advanced)
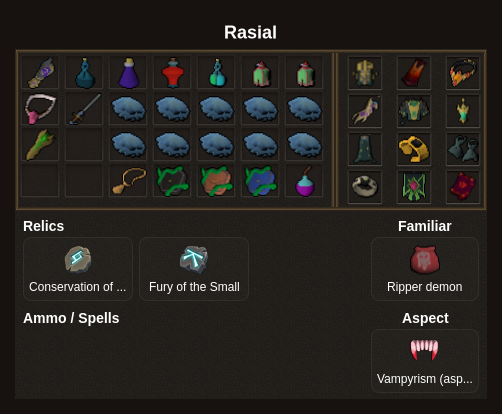
Rotations
War's Retreat
→ 
Phase 1-3
Enter → + + equip → + → → (tc) + +  + 1t
 →
→ → → → → → → → → → → → →
→ → + 2t → →  → → → → ( → )
Phase 4
→ → → → → →  →
Note: if is unowned, improv the remaining damage.
Example Kills
⬥ Equilibrium (Advanced) Example
too early will result in the first bounce becoming immune.
• The correct timing of is the same tick as the Ha! No more games! message.
⬥ May for extra damage, such as explosions in P4.
⬥ Rasial can be lured near to one of the soul obelisks, allowing to bounce to it and kill it, granting an additional ruthless stack and slowing his soul buildup.
⬥ boost is applied on cast and  on hit, swapping between these amulets can boost your damage for major hits / /
• Swapping to before the pre-build allows conjures to spawn with higher ability damage.