Dragonkin Laboratory Ranged <img src="https://cdn.discordapp.com/emojis/580168050121113623.png?v=1" alt="ranged" title="ranged" class="pvme-source-icon">
AI-assisted additive formatting; current PvME source words, order and media preserved |
Update source attribution; preserve PvME guide content |
||
| Line 268: | Line 268: | ||
</div> | </div> | ||
<div class="pvme-source-attribution">[https://pvme.io/pvme-guides/rs3-full-boss-guides/ed2-dragonkin-laboratory/ed2-ranged/ PvME source] · PvME contributors · [https://creativecommons.org/licenses/by-nc-sa/4.0/ CC BY-NC-SA 4.0] | <div class="pvme-source-attribution">[https://pvme.io/pvme-guides/rs3-full-boss-guides/ed2-dragonkin-laboratory/ed2-ranged/ PvME source] · PvME contributors · [https://creativecommons.org/licenses/by-nc-sa/4.0/ CC BY-NC-SA 4.0]. | ||
</div> | </div> | ||
Latest revision as of 02:37, 16 November 2026
Dragonkin Laboratory Ranged 
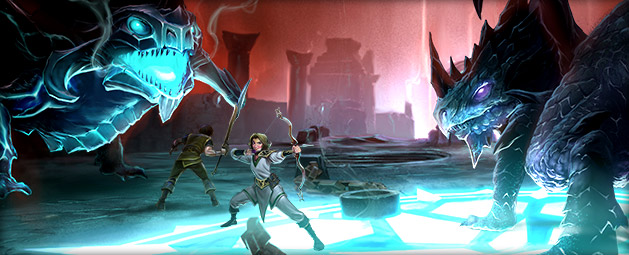
Introduction
This is an advanced guide which assumes a strong underlying knowledge of all mechanics and information presented in #ed2-basic.
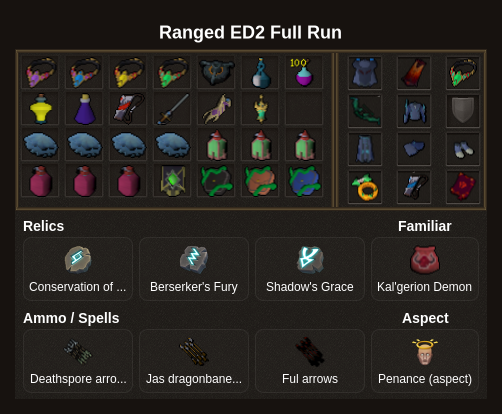
Rotations
⬥ This guide assumes you're on a dragon cluster task
⬥ The sections between bosses can be loosely followed, but will still require you to improvise
Section 1
 +
 →
 +
 →
 →

 →

 +
 →
 →
+ 
 →
 → → →
 → → → → (equip
 )
 →
 →
 + →

(equip )  → → → →

 →
 → →
 → →
 → →
 →
 → →
→ → → → → → → → → → →
Note: you can skip  if you don't lose time since you'll still have up for golems, which is a little faster.
Astellarn
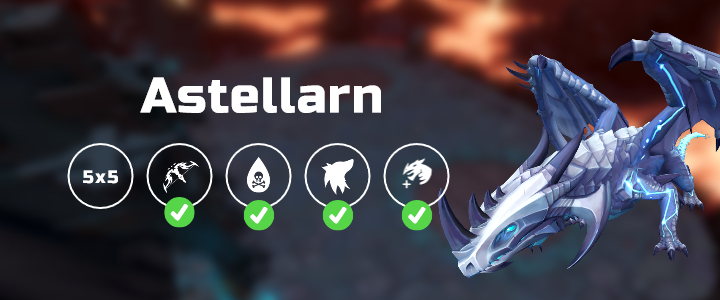
Astellarn
+ →  +
 →
 →
Section 2
→ → → → → → → → →  + +
 → → →
→ → → → → → → → → → → → → → → →
→ → → → → → → →
→ → → → → → → → → → → →
Verak Lith
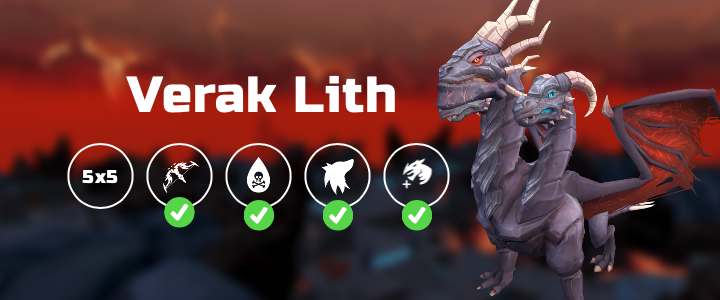
Verak Lith
+ → → + + (3t) → →  → → → →
Section 3
Chest TP to 4 → (equip ) + (x4) + → → →  + →
 → (equip ) → → → →
 → → →
→ → → → → → (target hydrix dragon) → → → → → → → →
→ → → → → → → → → → → → → →
Black Stone Dragon

Black Stone Dragon
→ + + + → → → →
First Hand
+  + →
Second Hand
→ →
Third Hand
→ → → → → → → →
Fourth Hand
→ → → + → → → →
Black Stone Dragon
(TC BSD) +  → → + → → + (3t) → → → → →