Kerapac, the Bound - Duo HM Necromancy
AI-assisted additive formatting; current PvME source words, order and media preserved |
Update source attribution; preserve PvME guide content |
||
| Line 307: | Line 307: | ||
</div> | </div> | ||
<div class="pvme-source-attribution">[https://pvme.io/pvme-guides/rs3-full-boss-guides/kerapac/duo-hard-mode/ PvME source] · PvME contributors · [https://creativecommons.org/licenses/by-nc-sa/4.0/ CC BY-NC-SA 4.0] | <div class="pvme-source-attribution">[https://pvme.io/pvme-guides/rs3-full-boss-guides/kerapac/duo-hard-mode/ PvME source] · PvME contributors · [https://creativecommons.org/licenses/by-nc-sa/4.0/ CC BY-NC-SA 4.0]. | ||
</div> | </div> | ||
Latest revision as of 02:37, 16 November 2026
Kerapac, the Bound - Duo HM Necromancy
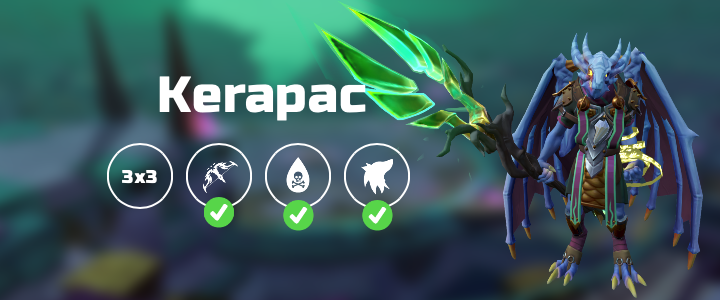
Introduction
This guide assumes you are already familiar with the basic mechanics of Kerapac which can be seen here #kerapac-hm-basic and own BIS gear in Necromancy.
It is recommended to have a Nodon dragonkin slayer task  as the genocidal boost does work with Necromancy. You may also use the premier Artefact
 to have a 10% chance to not decrease.
Presets and Relics


 Flanking 4 switch
⬥
 EoF with
 ⬥
 Genocidal perk if on-task
⬥


 Incense sticks running
Additional Notes
One person should do each of these rotations to avoid overlapping  & redundant casts of

Prebuild
Enter instance +  →
 + (wait 1t) →
 →
 / →
 →

Note: one person the other should
Player 1
Phase 1
(tc) +  +
 → →
 →

 →
 → + step under →
 →
 → → → → → →
Phase 2
 + (wait 1t)
 → → → → → + step under → (wait 1t) →
 → → → → → → →
Phase 3
→ → →  → → + step under → → → → → → basics to phase
Note:  during P3 if needed, start P4 with 100%
Solo Clone (N or S)
+ jump into clone → (wait 1t) → → → → → → →
Shared Clone (W)
+  to west clone to bounce skulls → →
Kerapac
to  (tc) + → → →
Note: as soon as possible on usually after first
Player 2
Phase 1
(tc) + + → → → → → step under → → → → → → → →
Note: add an extra if slow phasing
Phase 2
+ (wait 1t) → → → → → + step under → (wait 1t) → → → → → → → →
Phase 3
+ → → → → → → + step under → → → to phase
Note: during P3 if needed, start P4 with 100%
Solo Clone (N or S)
+ jump into clone → (wait 1t) → → → → → → →
Shared Clone (W)
to west clone to bounce skulls → →
Kerapac
to (tc) + → → →
Note: as soon as possible on usually after first