Necromancy Raksha
AI-assisted additive formatting; current PvME source words, order and media preserved |
Update source attribution; preserve PvME guide content |
||
| Line 149: | Line 149: | ||
</div> | </div> | ||
<div class="pvme-source-attribution">[https://pvme.io/pvme-guides/rs3-full-boss-guides/raksha/necromancy/ PvME source] · PvME contributors · [https://creativecommons.org/licenses/by-nc-sa/4.0/ CC BY-NC-SA 4.0] | <div class="pvme-source-attribution">[https://pvme.io/pvme-guides/rs3-full-boss-guides/raksha/necromancy/ PvME source] · PvME contributors · [https://creativecommons.org/licenses/by-nc-sa/4.0/ CC BY-NC-SA 4.0]. | ||
</div> | </div> | ||
Latest revision as of 02:37, 16 November 2026
Necromancy Raksha
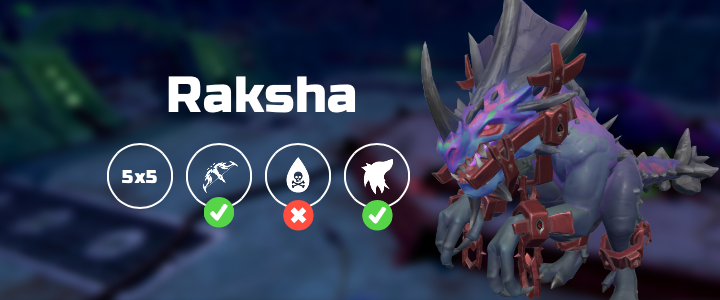
Introduction
This is an advanced guide which assumes a strong underlying knowledge of all mechanics and information presented in #raksha-basic.
Presets and Relics

⬥ Drink  to upkeep
 special attack
⬥  is used to perform the 0 tick switch
⬥ T100  weapons are not required but will make the guide more consistent
⬥ Optionally switch to  p4 after
 proc if seeking a PB
Rotation
Pre-build
Build 5  and 4
 stacks at
 dummies
Inside Instance
 →
 →

Phase 1
 +
 →
 →
 +
 under
 → tc +
 →
 →
 →
 →
 →
 → →
Phase 2
 +
 → → → →
 → → →
 → → → → → → improvise basics if not phased
Phase 3
→ → → → → →  + target pools → → target +
Phase 4
 → → → → equip
 → equip
 + → → → → →
 +


 (0 tick) → → → → →
 → → → → → → →

 → improvise if not dead
Note: check !0tick for information about "(0 tick)"