Zamorak 1000% Solo Ranged-Melee (Hybrid) <img src="https://cdn.discordapp.com/emojis/580168050121113623.png?v=1" alt="range" title="range" class="pvme-source-icon"> <img src="https://cdn.discordapp.com/emojis/1096130867279171706.png?v=1" alt="melee" title="melee" class="pvme-source-icon">
AI-assisted additive formatting; current PvME source words, order and media preserved |
Update source attribution; preserve PvME guide content |
||
| Line 292: | Line 292: | ||
</div> | </div> | ||
<div class="pvme-source-attribution">[https://pvme.io/pvme-guides/rs3-full-boss-guides/zamorak/zamorak-1000-ranged-melee-solo/ PvME source] · PvME contributors · [https://creativecommons.org/licenses/by-nc-sa/4.0/ CC BY-NC-SA 4.0] | <div class="pvme-source-attribution">[https://pvme.io/pvme-guides/rs3-full-boss-guides/zamorak/zamorak-1000-ranged-melee-solo/ PvME source] · PvME contributors · [https://creativecommons.org/licenses/by-nc-sa/4.0/ CC BY-NC-SA 4.0]. | ||
</div> | </div> | ||
Latest revision as of 02:38, 16 November 2026
Zamorak 1000% Solo Ranged-Melee (Hybrid) 

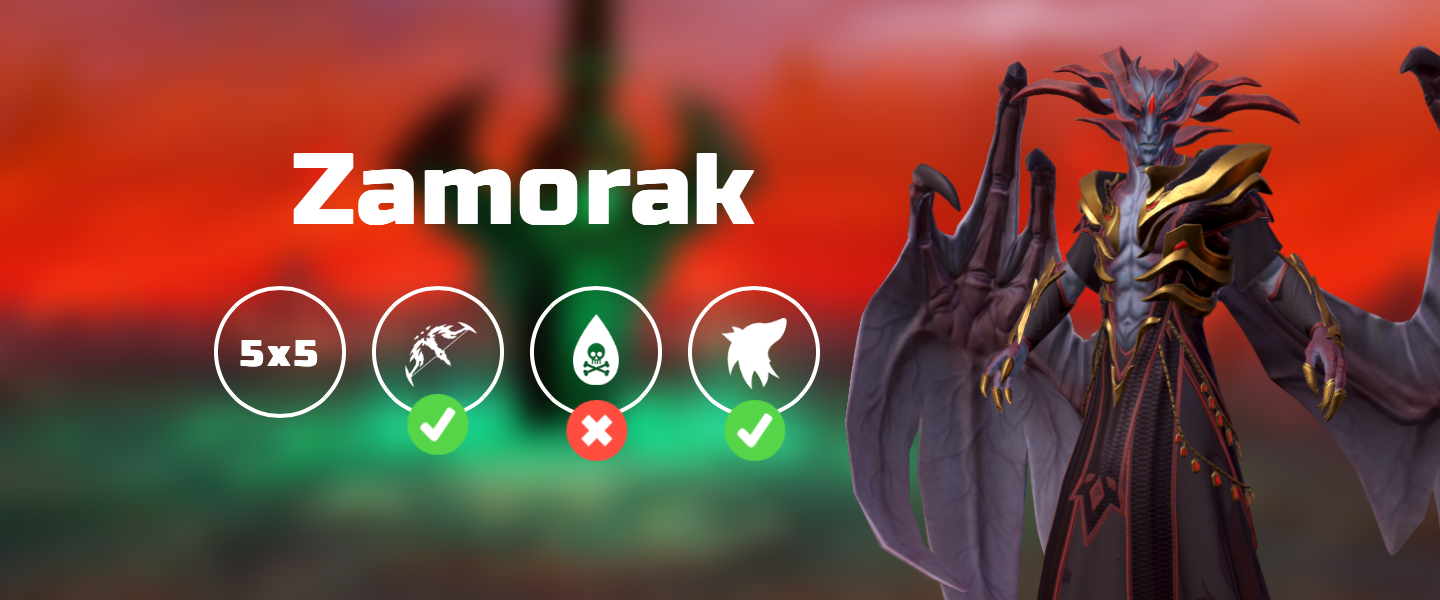
Introduction
This is an advanced guide which assumes a strong underlying knowledge of all mechanics and information presented in #zamorak-basic and #unknown-channel.
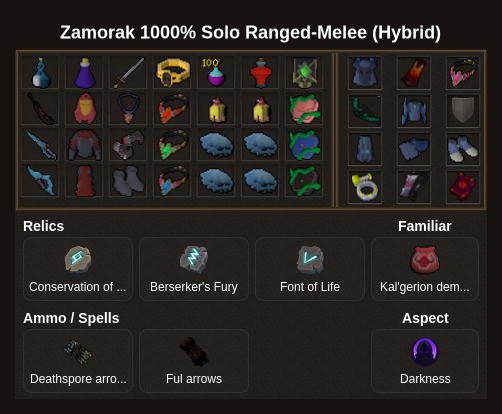
Rotations
⬥ This rotation can achieve sub 4 minute kills, and 9-11 kph.
⬥ Pad order used: 2 → 1 → 4 → 6 → 5 → 3
Witches
1: 
2: 

3: 

4:  →
5: →
6:
Phase 1
 →
 → →
 →

 →
 →
 +
 →
 →
 →
 → → → +

Witch
 →
 →
 + s
 →
 →
 →
 →
 +
Phase 2
 →
 → → →
 →
 → →
 →
 → +
Note: change for if enough adrenaline or  proc.
Witch
→ → → → → → +
Note: if  proc skip
Phase 3
 → → → + → → → → → → → → +
Witch
→ → + s → → → → +
Phase 4
→  → → → → → → → +
Witch
→ → → → → → +
Note: if proc skip
Phase 5
→ → → + → → → → → → →  + → → clear mine +
 → → +
Witch
→ → + s → → → → +
Phase 6
→ →  / → → → → → → (
 )
Note: if grey LP is too high.
Phase 7
Demon
 + → +

Zamorak
→ → → → +  →
Rune 1
→
Rune 2
Zamorak
→ → → /
 at 1:
at 2/3: