Arch Glacor - Boss Guide
imported>PvME corpus import Attributed pinned PvME snapshot 074a9438f79d10fba75735791be0030734db8b5e; CC BY-NC-SA 4.0 |
AI-assisted navigation: display canonical overview directly; all original guide wording and media unchanged |
||
| Line 1: | Line 1: | ||
__NOTOC__ | |||
<div class="pvme-other-guides" role="navigation" aria-label="Other guides"> | |||
<strong>Other guides</strong> | |||
<ul> | |||
<li>[[PvME/Arch-Glacor/AFK Arch Glacor|AFK Arch Glacor]]</li> | |||
<li>[[PvME/Arch-Glacor/High Enrage Arch Glacor Hybrid Melee Magic|High Enrage Arch Glacor Hybrid Melee Magic]]</li> | |||
<li>[[PvME/Arch-Glacor/High Enrage Arch Glacor Hybrid Melee Ranged|High Enrage Arch Glacor Hybrid Melee Ranged]]</li> | |||
<li>[[PvME/Arch-Glacor/High Enrage Arch Glacor Necromancy|High Enrage Arch Glacor Necromancy]]</li> | |||
</ul> | |||
</div> | |||
{{:PvME/Arch-Glacor/Overview}} | |||
Latest revision as of 01:32, 16 November 2026
Arch Glacor - Boss Guide
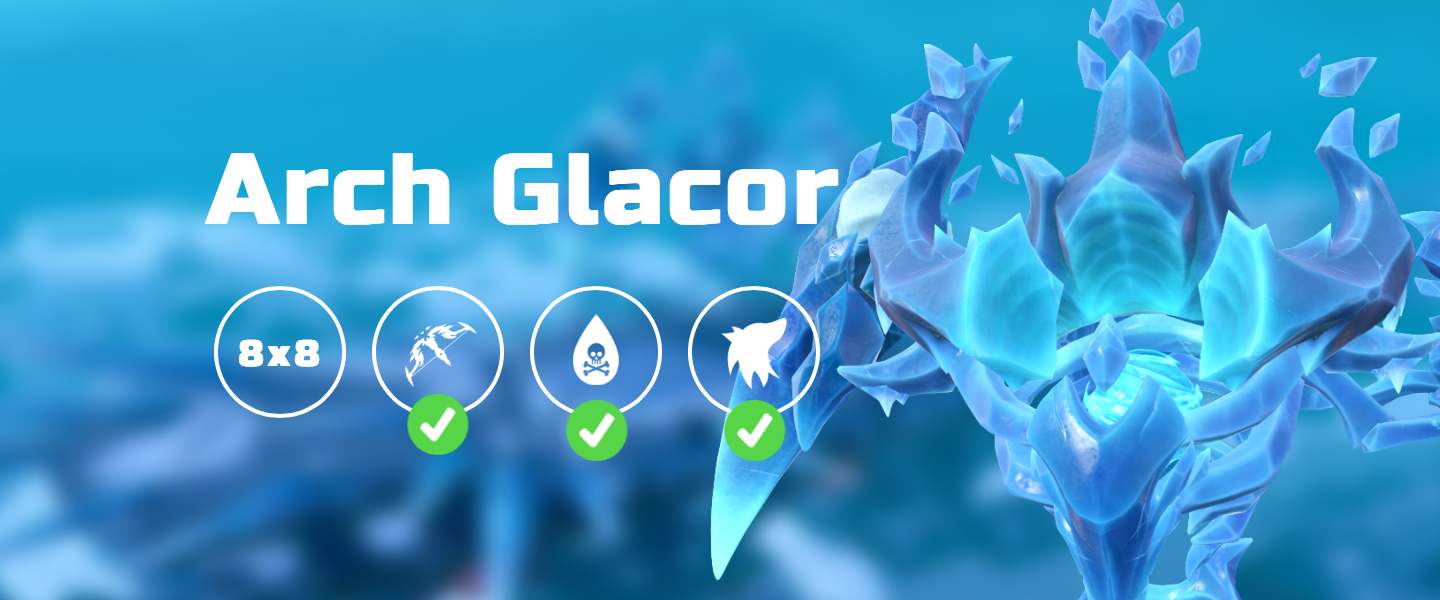
General Information
⬥ Arch-Glacor can be fought in Normal Mode (NM) or Hard Mode (HM)
• NM can be fought in a group, but HM can only be fought solo
⬥ Arch-Glacor's life points vary based on mode and enrage
⬥ Glacor  slayer assignment applies to NM only
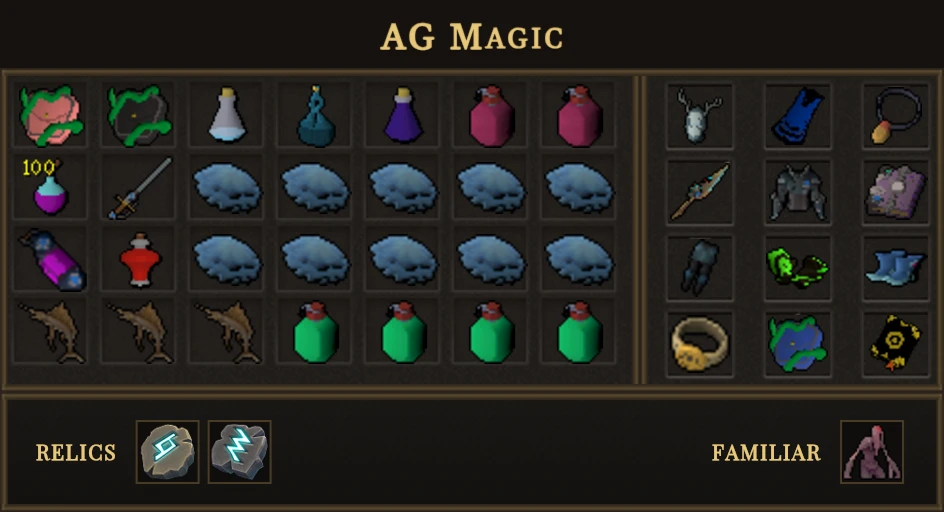

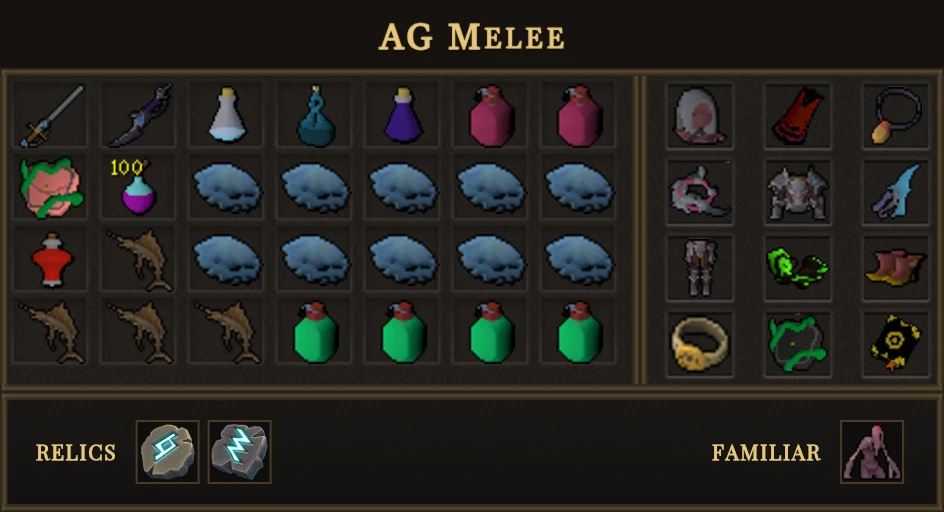

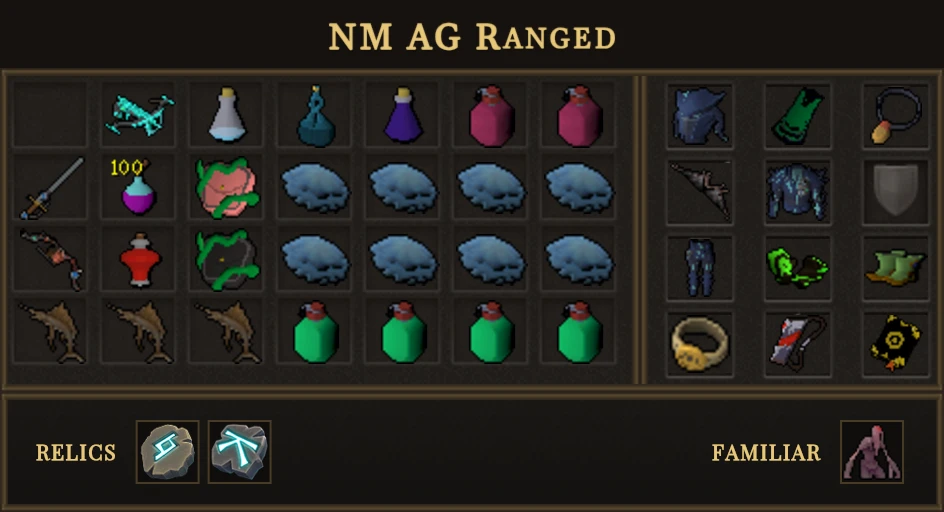


Fight Mechanics
⬥ Arch-Glacor randomly cycles through the 5 mechanics listed below
• Each mechanic can only occur once per cycle, meaning a mechanic can only occur back-to-back if it is the last mechanic of a cycle and the first mechanic of the next
⬥ In NM, mechanics can be toggled on or off to learn the fight, except for Creeping Ice
⬥ In HM, all mechanics are enabled and enrage increases with every kill, with difficulty increasing too
Auto Attacks (Ranged example / Magic example)
Mechanic: Arch-Glacor primarily uses Magic and Ranged auto-attacks, with stronger style-swapping auto-attacks during Flurry.
Solution:
⬥ Pray against the correct attack style 

⬥ Use  if taking heavy damage
Glacyte Minions (Example)
Mechanic: Arch-Glacor becomes immune and summons 4 Glacyte minions. Each minion drops an unstable core on death.
At 250%+ HM enrage, a tougher Bolstered Glacyte also spawns (however, if this is the first mechanic in the fight, this Bolstered Glacyte does not spawn).
Solution:
⬥ Use area of effect attacks to clear the minions 
 /

 /

 /


⬥ Click the unstable cores only once all minions are dead
Flurry (Example)
Mechanic: Arch-Glacor's auto-attacks hit harder and rotate combat styles, with its Melee hit the strongest.
Solution:
⬥ Pray against each combat style accordingly / / 
⬥ Use for additional damage reduction
⬥ Use  or
 on melee swipes where appropriate
Pillars of Ice (Example)
Mechanic: Creeping Ice forces you to one end of the arena, then moving beams cross the arena. Contact with a beam deals heavy damage and stuns you 
Solution:
⬥ Move around the beams using  and

⬥ Watch the example above for one safe path through the mechanic
⬥ In HM, an additional beam appears after the second beam
Exposed Core (Example)
Mechanic: Arch-Glacor traps you in the centre of the arena, between its arms. The core deals increasing Magic  damage.
Solution:
⬥ Kill either arm to escape
⬥ Use strong damaging abilities to break the arm quickly
⬥ Pray to reduce damage if needed
Frost Cannon (Example)
Mechanic: Creeping Ice traps you at one end of the arena, then Arch-Glacor fires a beam dealing heavy Magic damage. In HM, the beam hits 3 times and the first hit stuns you
Solution:
⬥ Prioritise blocking the Magic attack(s) with  or
 +
⬥ Use  before the beam in HM to prevent the stun
• If you miss this, don't panic and use 
⬥ Example rotations:
• In NM: use to heal from the single hit
• In HM:
⬩ → + (Example)
⬩ → + → the final hit (Example)