500% Solo Zamorak (Ranged)
AI-assisted additive formatting; current PvME source words, order and media preserved |
Update source attribution; preserve PvME guide content |
||
| Line 211: | Line 211: | ||
</div> | </div> | ||
<div class="pvme-source-attribution">[https://pvme.io/pvme-guides/rs3-full-boss-guides/zamorak/zamorak-ranged-500/ PvME source] · PvME contributors · [https://creativecommons.org/licenses/by-nc-sa/4.0/ CC BY-NC-SA 4.0] | <div class="pvme-source-attribution">[https://pvme.io/pvme-guides/rs3-full-boss-guides/zamorak/zamorak-ranged-500/ PvME source] · PvME contributors · [https://creativecommons.org/licenses/by-nc-sa/4.0/ CC BY-NC-SA 4.0]. | ||
</div> | </div> | ||
Latest revision as of 02:38, 16 November 2026
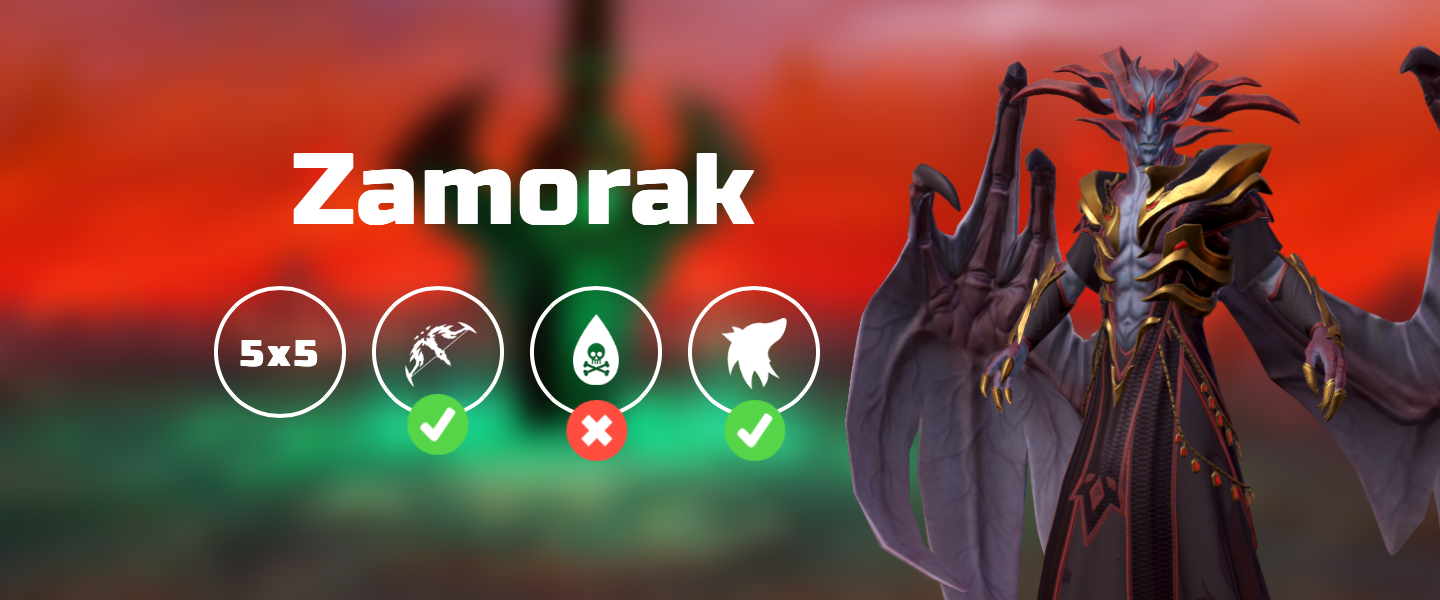
500% Solo Zamorak (Ranged)
Intro
This guide contains information for players doing Zamorak at 500% enrage solo with 
⬥ The rotations in this guide will help you achieve <4 min kills comfortably
⬥ This guide uses edict order 2 - 1 - 4 - 6 - 5 - 3

The Fight
All rotations listed may need improvisation due to ful book procs and crits.
Phase 1
⬥ Build 10  before the 2nd last witch and use
 →
 , kill last witch when imbue shadows has ~20s on it's timer
1t after timer appears → 
 +
 → tc +


 →
 + step on pad →
 →
 →
 →
 +
 →
Note: Keep your hp low to maximise berserker's fury damage, can use  after if needed
Witch:  +
 → tc +
 + →
 + →
 /
Phase 2:
→ tc + → + to pad → → → → → → → → → +
Witch: + → tc + + → → + →
Phase 3
tc + +  to pad → + → → → → → → +
Witch: + → tc + + → + → (if needed)
Phase 4
→ tc + (if not used on witch) → + on pad → → → → → → +
Witch: + → tc + + → → + →
Phase 5
tc + + → → → → → → →  + to next pad → + →
Witch: + → tc + + → + →
Phase 6
tc + → → → → → → improv if not dead
Phase 7
Demon: during cutscene → +  → → + → target Zamorak + + → →
Runes:  → first rune → → second rune → + to Zamorak
Zamorak: → → → filler if not dead, equip  for bomb