PvME guide index
Introduction
The goal of the PvME Mastery System is to allow players to set goals and track progress towards mastering specific boss encounters. Roles that are granted are kept permanently, no matter the meta that they were achieved under.
Mastery Roles Explained
The PvME mastery system is formed around four distinct ranks. Each rank is meant to be representative of a particular 'snapshot' in a player's journey.
⬥ Initiate
• Making the transition from a learner to the start of mastery; the primary goal would be to keep building familiarity with the encounter so as to continue climbing through the ranks.
⬥ Adept
• Once fully familiar with a boss at surface level, starts taking larger steps to understand its nuances and explores methods of optimization.
⬥ Master
• Displays an extensive understanding of the encounter; utilising efficient tactics with a high degree of proficiency in the relevant style(s).
⬥ Grandmaster
• A true expert achieving peak performance; the most rapid, precise, and difficult tactics are leveraged with near-perfect execution with a focus on high consistency. Grandmasters can take advantage of any form of good luck they encounter to push for a faster time. A player at this skill level would be content to achieve these timers once per hour (applies more literally in some places than others).
Submitting for a Role
A submission should be provided as follows, with your in-game name visible:
⬥ Initiate / Adept
• Screenshots or videos are both accepted unless otherwise stated.
⬥ Master / Grandmaster
• Only videos are accepted unless otherwise stated.
Please post your submissions in Role submissions (external Discord) so that they can be reviewed by staff and/or role reviewers. Submissions will be evaluated according to our rules, as follows,
Mastery System Rules
⬥ All roles requiring multiple kills will use average times.
⬥ Any timer denoted with ≤ ("sub"), e.g. "≤ 1:00", signifies that anything up until
and including that time will be accepted.
⬥ Decimals are ignored entirely for all timers, including averages.
• E.g. 1:00.6 and 1:01.8 would be considered 1:00 and 1:01 = 1:00 average.
⬥ All rules used by the
PvM Records (external Discord) community apply
• Full list is available
here.
• Any new bugs/exploits added to the
list that are used prior to being disallowed
may result in submission denial
⬥ Power creep may place submissions on hold.
⬥ Practice mode is not allowed.
Special Roles
In addition to all of the listed mastery objectives, we provide special roles for those who go above and beyond in mastering multiple different encounters.
"Roles" = Mastery only.
Available Roles
The Go Getter (community role)
• Obtain 16 Initiate (or higher) roles
The Rising Star (community role)
• Obtain 16 Adept (or higher) roles
The Professional (community role)
• Obtain 16 Master (or higher) roles
The Virtuoso (community role)
• Obtain 16 Grandmaster roles
Guide illustration
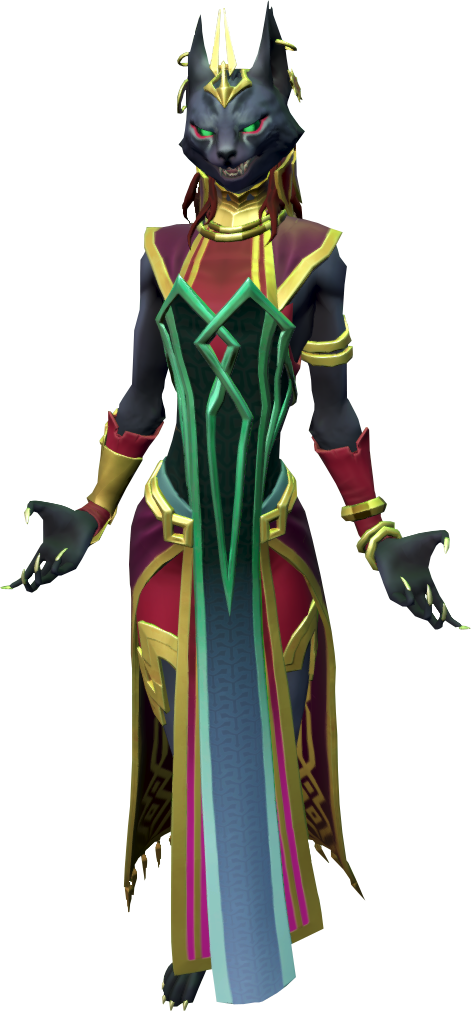
Amascut, the Devourer
Amascut Initiate (community role)
• ≤ 9:00 at 500% enrage
Amascut Adept (community role)
• ≤ 8:30 at 1000% enrage
Amascut Master (community role)
• ≤ 6:45 at 1000% enrage
Amascut Grandmaster (community role)
• ≤ 6:30 at 2000% enrage
Guide illustration
Arch-Glacor
Arch-Glacor Initiate (community role)
• ≤ 4:00 at 1000%+ enrage
Arch-Glacor Adept (community role)
• ≤ 4:30 at 2000%+ enrage
Arch-Glacor Master (community role)
• ≤ 3:00 at 2000%+ enrage
Arch-Glacor Grandmaster (community role)
• ≤ 5:30 at 4000% enrage
Guide illustration
ED1: Temple of Aminishi (Solo)
Temple of Aminishi Initiate (community role)
• ≤ 1:10 Sanctum Guardian, and
• ≤ 3:00 Masuta, and
• ≤ 3:30 Seiryu
Temple of Aminishi Adept (community role)
• ≤ 9:30 full run
Temple of Aminishi Master (community role)
• ≤ 8:00 full run
Temple of Aminishi Grandmaster (community role)
• ≤ 6:00 full run
Guide illustration
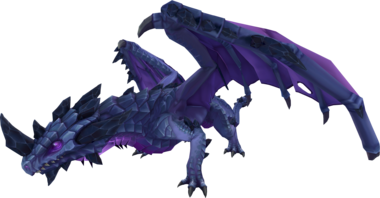
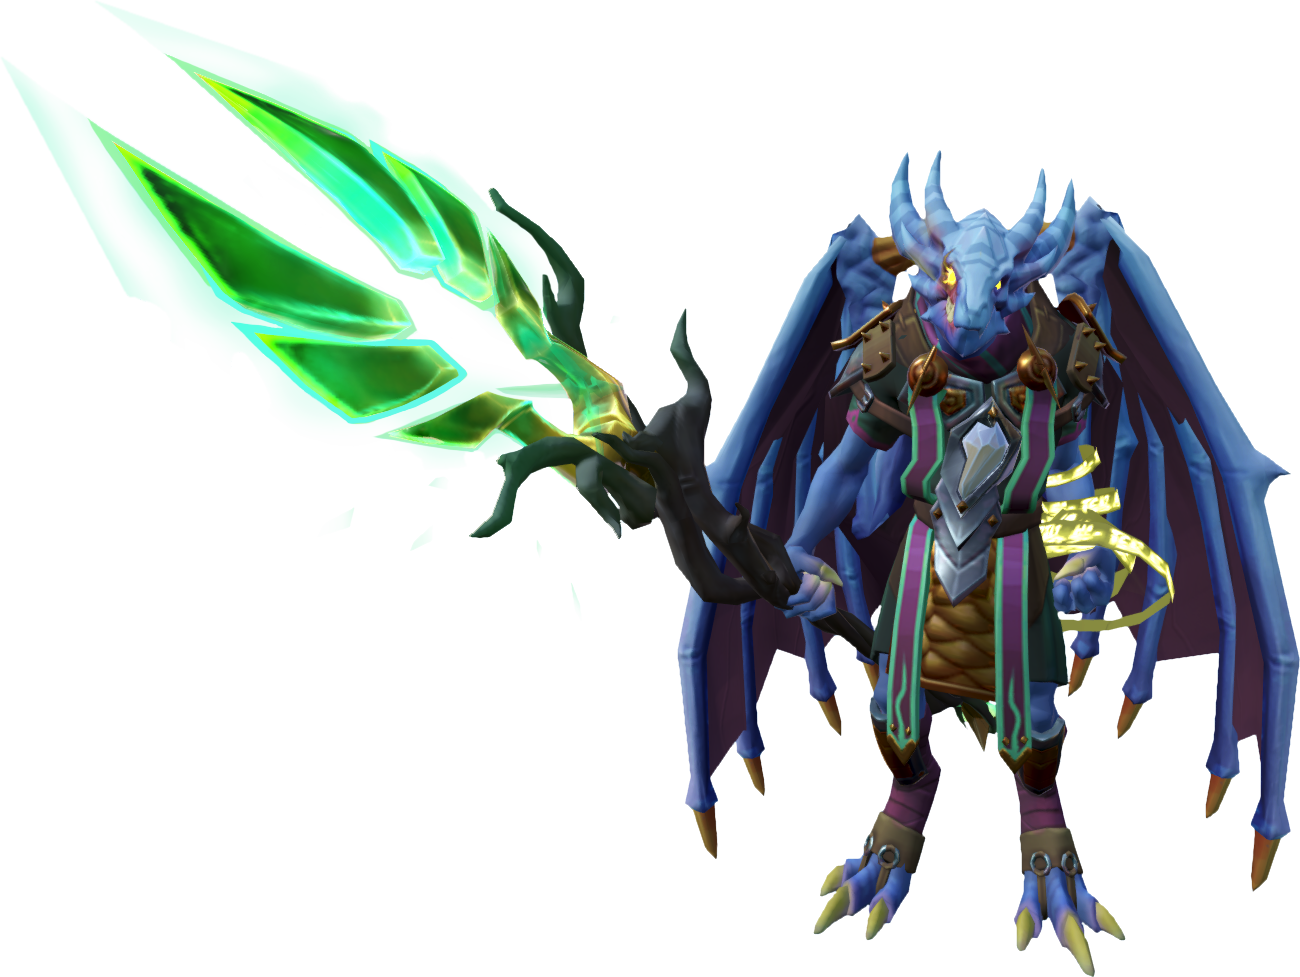
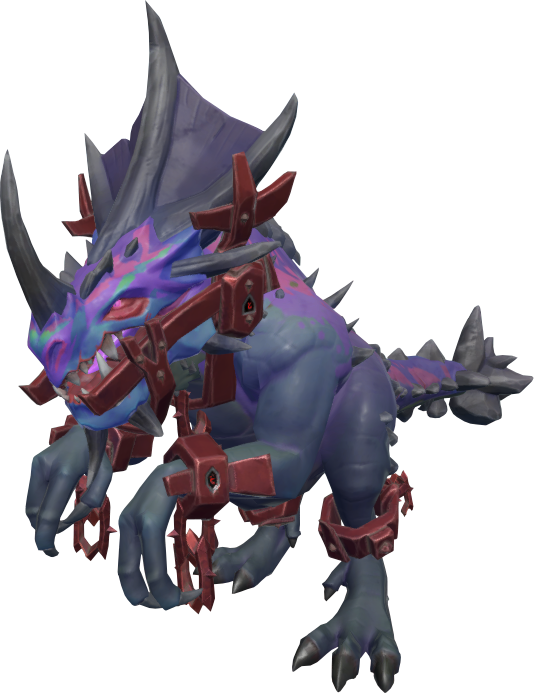
ED2: Dragonkin Laboratory (Solo)
Dragonkin Laboratory Initiate (community role)
• ≤ 1:00 Astellarn, and
• ≤ 2:00 Verak Lith, and
• ≤ 3:40 Blackstone Dragon
Dragonkin Laboratory Adept (community role)
• ≤ 10:00 full run
Dragonkin Laboratory Master (community role)
• ≤ 9:00 full run
Dragonkin Laboratory Grandmaster (community role)
• ≤ 7:00 full run
Guide illustration
ED3: Shadow Reef (Solo)
Shadow Reef Initiate (community role)
• ≤ 1:00 Crassian Leviathan, and
• ≤ 2:00 Taraket. and
• ≤ 3:30 Ambassador
Shadow Reef Adept (community role)
• ≤ 11:00 full run
Shadow Reef Master (community role)
• ≤ 9:30 full run
Shadow Reef Grandmaster (community role)
• ≤ 8:00 full run
Guide illustration
Note: -40 seconds for Ambassador skip
Kerapac, the Bound (Solo HM)
Kerapac Initiate (community role)
• ≤ 3:30
Kerapac Adept (community role)
• ≤ 3:00
Kerapac Master (community role)
• B2B ≤ 2:30
Kerapac Grandmaster (community role)
• B2B ≤ 1:40
Guide illustration
Note: B2B = back-to-back consecutive kills | HM = hard mode
Nex (Solo)
Nex Initiate (community role)
• ≤ 1:50
Nex Adept (community role)
• ≤ 1:30
Nex Master (community role)
• B2B ≤ 1:15
Nex Grandmaster (community role)
• B2B ≤ 1:05
• Dummy not allowed
Guide illustration
Note: B2B = back-to-back consecutive kills
Nex, Angel of Death
Nex, Angel of Death or FC trial kills are not allowed.
AoD Initiate (community role)
• ≤ 2:00 7-man, or
• ≤ 3:30 4-man or
• 7-man tag in Nex, Angel of Death Discord
AoD Adept (community role)
• ≤ 1:40 7-man, or
• ≤ 2:30 4-man, or
• Member of Nex AoD FC
AoD Master (community role)
• B2B ≤ 1:20 7-man, or
• B2B ≤ 1:50 4-man
AoD Grandmaster (community role)
• extreme tag in Nex Aod FC, or
• ≤ 1:20 4-man
Guide illustration
Note: B2B = back-to-back consecutive kills
Raksha
Raksha Initiate (community role)
• ≤ 2:10
Raksha Adept (community role)
• ≤ 1:40
Raksha Master (community role)
• B2B ≤ 1:20
Raksha Grandmaster (community role)
• B2B ≤ 1:05
Guide illustration
Note: solo or duo | B2B = back-to-back consecutive kills
Sanctum of Rebirth (HM)
Sanctum Initiate (community role)
• ≤ 1:40 Vermyx, and
• ≤ 2:30 Kezalam, and
• ≤ 4:00 Nakatra
Sanctum Adept (community role)
• ≤ 1:30 Vermyx, and
• ≤ 2:00 Kezalam, and
• ≤ 3:00 Nakatra
Sanctum Master (community role)
• ≤ 1:21 Vermyx, and
• ≤ 1:45 Kezalam, and
• ≤ 2:24 Nakatra
Sanctum Grandmaster (community role)
• ≤ 1:04 Vermyx, and
• ≤ 1:20 Kezalam, and
• ≤ 1:40 Nakatra
Guide illustration
Notes:
• Note 1: HM = hard mode
• Note 2: Does not need to be the same run
• Note 3: Timers are farming timers and therefore submissions including excessive prebuilds will be rejected
Solak
Solak Initiate (community role)
• ≤ 4:45 group, or
• ≤ 6:30 solo
Solak Adept (community role)
• ≤ 3:30 group, or
• ≤ 4:30 solo
Solak Master (community role)
• B2B ≤ 3:30 solo, or
• B2B ≤ 2:30 duo, or
• B2B ≤ 2:20 4s
Solak Grandmaster (community role)
• ≤ 2:45 solo, or
• ≤ 2:10 duo, or
• ≤ 1:55 4s
Guide illustration
Note: B2B = back-to-back consecutive kills
Telos, the Warden
Telos Initiate (community role)
• ≤ 4:00 at 1000%+
Telos Adept (community role)
• ≤ 3:20 at 1000%
Telos Master (community role)
• B2B Style camp ≤ 2:50 at 2449%+
Telos Grandmaster (community role)
• Style camp ≤ 2:20 at 2449%+
Guide illustration
Note: B2B = back-to-back consecutive kills
TzKal-Zuk (HM)
Zuk Initiate (community role)
• ≤ 20:00
Zuk Adept (community role)
• ≤ 15:00
Zuk Master (community role)
• ≤ 13:00
Zuk Grandmaster (community role)
• ≤ 9:30
Guide illustration
Notes:
• Note 1: HM = hard mode
• Note 2: -10 seconds from timer per Death Mark bug on pillars
Vorago
View timers
Vorago Initiate (community role)
Vorago Adept (community role)
Vorago Master (community role)
Vorago Grandmaster (community role)
Guide illustration
Zamorak: Lord of Chaos
Zamorak Initiate (community role)
• ≤ 4:30 at 200%+ enrage group, or
• ≤ 5:00 at 200%+ enrage solo
Zamorak Adept (community role)
• ≤ 4:30 at 500%+ enrage group, or
• ≤ 5:00 at 500%+ enrage solo or
• ≤ 7:00 at 1000%+ enrage solo
Zamorak Master (community role)
• ≤ 4:50 at 2000%+ enrage group, or
• ≤ 5:30 at 2000%+ enrage solo
Zamorak Grandmaster (community role)
• ≤ 3:40 at 2000%+ enrage group or
• ≤ 4:40 at 2000%+ enrage solo
Guide illustration
Zemouregal & Vorkath (HM)
Vorkath Initiate (community role)
• ≤ 3:45
Vorkath Adept (community role)
• ≤ 2:45
Vorkath Master (community role)
• B2B ≤ 1:30
Vorkath Grandmaster (community role)
• B2B ≤ 1:00
Guide illustration
Note: B2B = back-to-back consecutive kills | HM = hard mode
Attribution and source history
Adapted from Mastery by PvME contributors. Upstream source history. Licensed CC BY-NC-SA 4.0. Snapshot 074a9438f79d10fba75735791be0030734db8b5e. Formatting adapted for standalone MediaWiki; media and third-party references remain external links.