Sanctum HM Solo Melee
Introduction
This is an advanced guide and assumes a deep understanding of the boss's rotations and mechanics for the Hard Mode version of the Sanctum of Rebirth, found in Sanctum HM Mechanics Overview.
Presets and Relics
⬥ Melee melee Guide illustration


Vermyx, Brood Mother
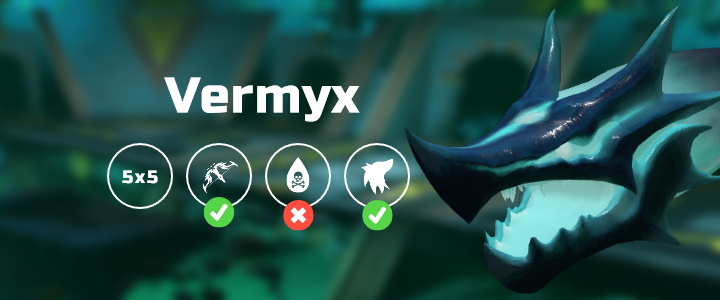
⬥ Release all scane with consecratedkeris


⬥ Gear must be perked with Equilibrium 4 eq4

Pre-fight


Phase 1
gbarge → meteorstrike → gflurry → overpower → rend → (adaptivestrike)





Coilspawn
divert → (tc) + naturalinstinct → adaptivestrike → dba spec → smeleebasic → gbarge → soverpower


Phase 2
roverpower + gflurry → scane → rcane → rend
Coilspawn
annihilation eofspec → dismember → sadaptivestrike → smeleebasic → smeleebasic → sadaptivestrike → divert → smeleebasic → sadaptivestrike


Phase 3
gbarge → zgs eofspec → punish → gflurry → adaptivestrike → overpower → gfury → chaosroar → dragonclaw eofspec → (adaptivestrike → assault)





Kezalam, the Wanderer
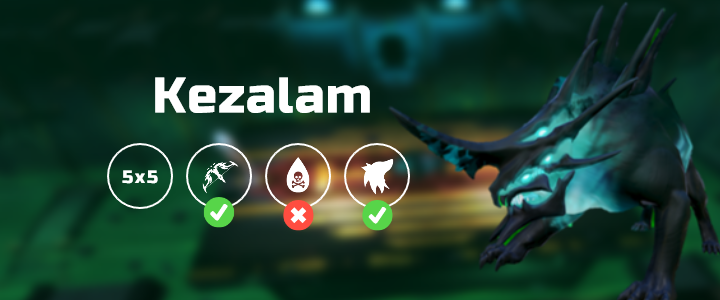
⬥ Release all scane with consecratedkeris
⬥ Gear must be perked with Equilibrium 4 eq4
War's Retreat

Pre-fight (Moonstone Obelisk 1)
rezk spec + naturalinstinct → adaptivestrike → meleebasic → meteorstrike → adaptivestrike → berserk → smeleebasic
Phase 1
gbarge → gflurry → overpower → dragonclaw eofspec + adrenrenewal → dragonclaw eofspec → scane → rcane → adaptivestrike → overpower
Moonstone Obelisk 2 (obelisk you didn't use ezk spec on)
rend → dragonclaw eofspec → punish → pulverise

Phase 2
overpower → dive + prismofsalvation + (8t) gflurry → rend → scane → rcane + overpower → freedom + click prismofsalvation → backhand → (7t) assault → rend → punish → (meleebasic → meleebasic → meleebasic etc)


Moonstone Obelisk 1
adaptivestrike → chaosroar → ezk spec
Phase 3
adaptivestrike → divert → meteorstrike → rend → sadaptivestrike → berserk → gbarge → overpower → gflurry → dragonclaw eofspec → punish → scane → rcane → (assault)
Nakatra, Devourer Eternal
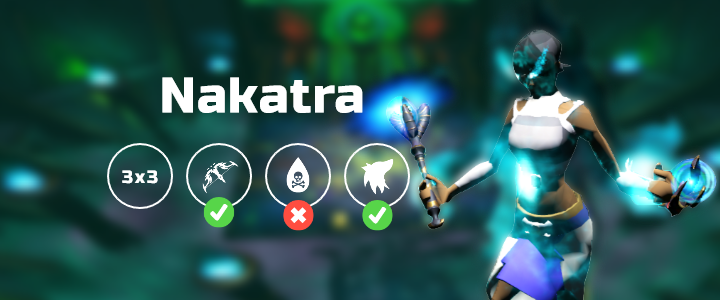
⬥ Release all scane and pulverise with consecratedkeris
⬥ Gear must be perked with Equilibrium 4 eq4
War's Retreat
Phase 1
rezk spec + meteorstrike → divert → berserk → gbarge → overpower → gflurry → dragonclaw eofspec → chaosroar → scane → (2t) rcane + overpower
Phase 2
dragonclaw eofspec + adrenrenewal → backhandflank → dragonclaw eofspec → backhandflank → overpower → rend → scane → rcane + (7t) gflurry → overpower + powerburstofvitality → adaptivestrike + disrupt → divert


Phase 3
Nefthys 1
gbarge → rend → assault → overpower → (meleebasic)
Nefthys 2
ingen + roarofawakening spec → adaptivestrike → gfury → rend → punish → pulverise


Prephase
backhandflank → swh eofspec → meteorstrike → adaptivestrike

Phase 4
Shadowsands
berserk + surge + dive → (tc) adaptivestrike → (tc) cane → rend (leave)

Nakatra
(2t tc) + dba spec → gbarge → chaosroar + dive → sezk spec → rezk spec + gflurry → rend → scane → rcane + overpower → dragonclaw eofspec → punish → assault
Example Kills
Attribution and source history
Adapted from Sanctum HM Solo Melee by PvME contributors. Upstream source history. Licensed CC BY-NC-SA 4.0. Snapshot 074a9438f79d10fba75735791be0030734db8b5e. Formatting adapted for standalone MediaWiki; media and third-party references remain external links.