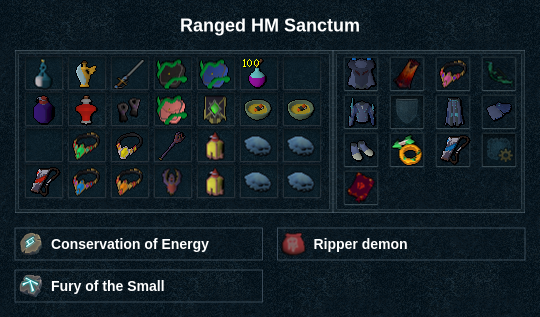
Sanctum of Rebirth Hard Mode - Solo Ranged
AI-assisted additive formatting; current PvME source words, order and media preserved |
Update source attribution; preserve PvME guide content |
||
| Line 315: | Line 315: | ||
</div> | </div> | ||
<div class="pvme-source-attribution">[https://pvme.io/pvme-guides/rs3-full-boss-guides/sanctum/sanctum-hm-solo-ranged/ PvME source] · PvME contributors · [https://creativecommons.org/licenses/by-nc-sa/4.0/ CC BY-NC-SA 4.0] | <div class="pvme-source-attribution">[https://pvme.io/pvme-guides/rs3-full-boss-guides/sanctum/sanctum-hm-solo-ranged/ PvME source] · PvME contributors · [https://creativecommons.org/licenses/by-nc-sa/4.0/ CC BY-NC-SA 4.0]. | ||
</div> | </div> | ||
Latest revision as of 02:37, 16 November 2026
Sanctum of Rebirth Hard Mode - Solo Ranged

Introduction
This is an advanced guide and assumes a deep understanding of the boss's rotations and mechanics for the Hard Mode version of the Sanctum of Rebirth, found in #unknown-channel.

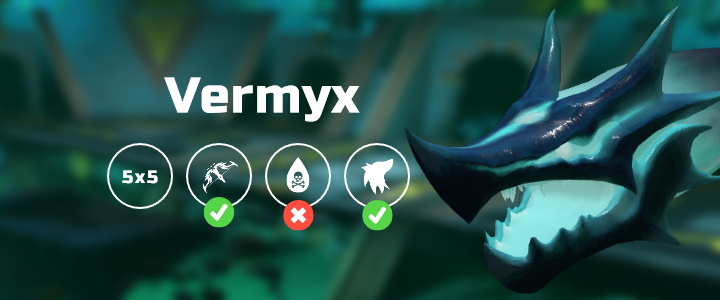
Vermyx, Brood Mother
War's Retreat
 s

Phase 1
r + → 
 +
 →

 →
 →
 →
 →
Coilspawn
Build 10 → → →  to Vermyx
Phase 2
 → improvise with /
 /
 / /
 based on stacks
Coilspawn
Build 12  + 3-7
 →
 → to Vermyx
Phase 3

 → → → → → → → → improvise
Kezalam, the Wanderer

War's Retreat
s
Pre-fight (Moonstone Obelisk 1)
r + → → →
Phase 1
s → r + → → → →
Moonstone Obelisk 1
→  → /
 → →
Phase 2
→ → → → →  → target moonstone + → target kezalam +
 +
 + → build 12 + 3 → → → → → → / if not phased
Moonstone Obelisk 2
→ → → →
Phase 3
→ → → / → improvise based on stacks
Nakatra, Devourer Eternal
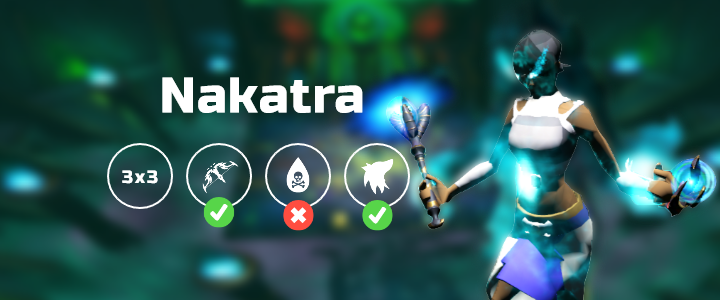
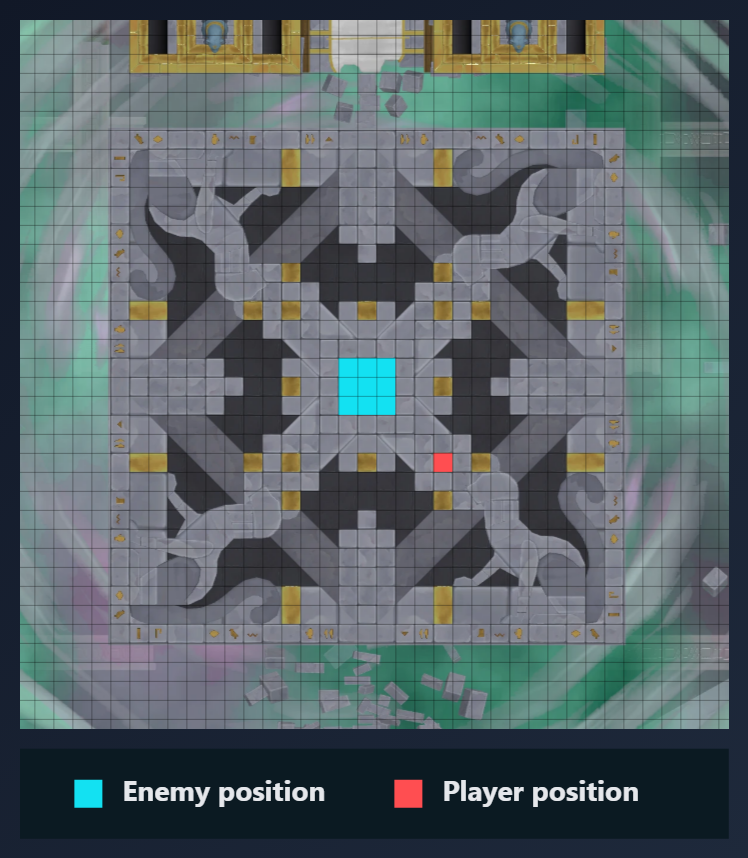
⬥ Start on the east side to benefit from 
War's Retreat
s
Phase 1
r + → → → → → → → +  → → → +
 +
 →
Phase 2
→ → → → → → →  → →
 → improvise until phased → +
Phase 3
Nefthys 1
→ → (may have to improvise based on stacks)
Nefthys 2
→ → → → build adrenaline on Nakatra
Phase 4
Shadowsands
 → → → → build + while doing this, ideally end on 3-7 or may have to improvise later
Note: multiplies stack generation, be careful not to consume on
Nakatra
→ → → → → → → → → → → → /  / + Magic hits → improvise