Sanctum HM Solo Ranged

Introduction
This is an advanced guide and assumes a deep understanding of the boss's rotations and mechanics for the Hard Mode version of the Sanctum of Rebirth, found in Sanctum HM Mechanics Overview.
Presets and Relics

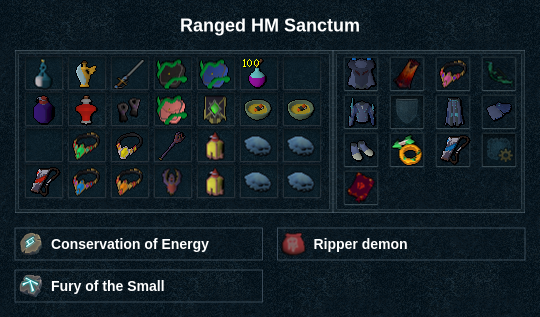
Vermyx, Brood Mother
War's Retreat


Phase 1
rgrico + grico → ecb eofspec + adrenrenewal → bolg spec → galeshot → deadshot → sgb eofspec → grico





Coilspawn
Build 10 wenarrows → ecb eofspec → galeshot → dive to Vermyx

Phase 2
rapid → improvise with bolg spec / dbow eofspec / snapshot / grico / gloomfirebow eofspec based on stacks




Coilspawn
Build 12 deathsporearrows + 3-7 perfectequilibrium → gdeathsswift → dive to Vermyx


Phase 3
fularrow imbueshadows → ecb eofspec → bolg spec → galeshot → rapid → deadshot → gloomfirebow eofspec → sgb eofspec → improvise


Kezalam, the Wanderer
War's Retreat
Pre-fight (Moonstone Obelisk 1)
rgrico + grico → gdeathsswift → imbueshadows → fularrow ecb eofspec
Phase 1
sbolg spec → rbolg spec + galeshot → rapid → deadshot → sgb eofspec → dbow eofspec
Moonstone Obelisk 1
grico → shadowtend → snapshot / piercingshot → ecb eofspec → snipe


Phase 2
galeshot → rapid → snapshot → dbow eofspec → grico → freedom → target moonstone + bolg spec → target kezalam + ingen + roarofawakening spec + adrenrenewal → build 12 deathsporearrows + 3 perfectequilibrium → gdeathsswift → fularrow imbueshadows → ecb eofspec → bolg spec → grico → snapshot / dbow eofspec if not phased


Moonstone Obelisk 2
shadowtend → snapshot → ecb eofspec → snipe → grico
Phase 3
galeshot → rapid → deadshot → sgb eofspec / gloomfirebow eofspec → improvise based on stacks
Nakatra, Devourer Eternal
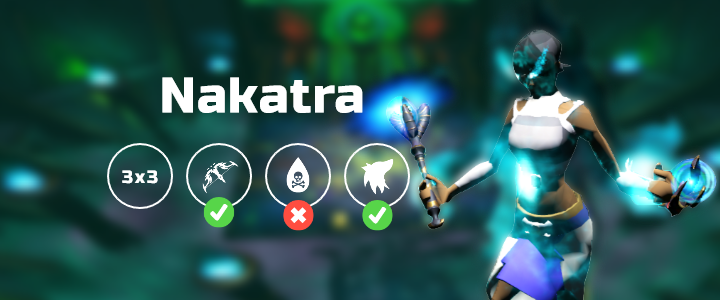
⬥ Start on the east side to benefit from enchantmentofdread
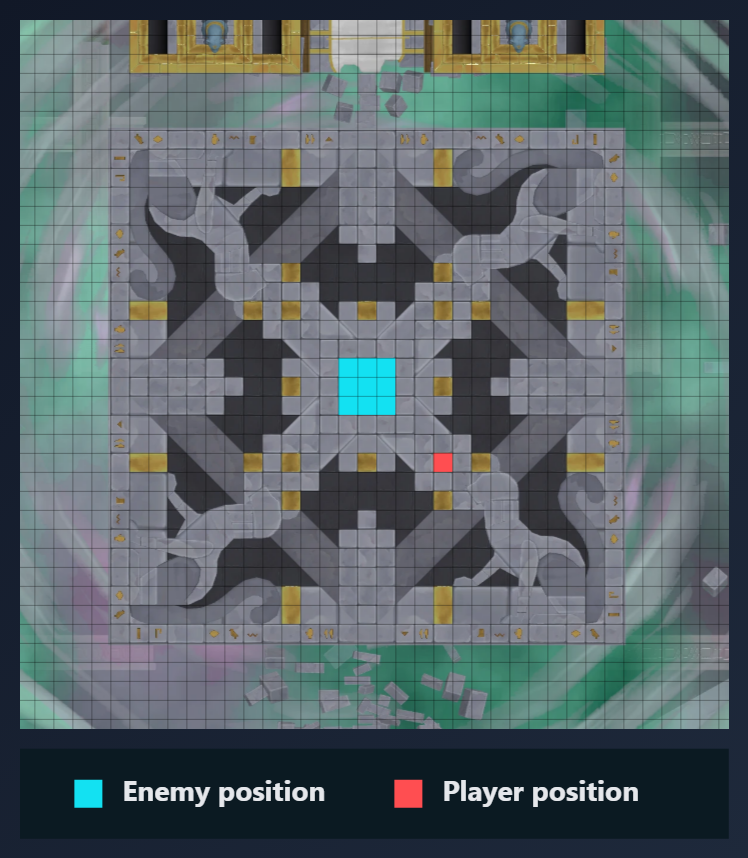

War's Retreat
Phase 1
rdeadshot + grico → gdeathsswift → fularrow imbueshadows → ecb eofspec → bolg spec → galeshot → rapid → deadshot + nightmaregauntlets → gloomfirebow eofspec → grico → dbow eofspec + powerburstofvitality + disrupt → snapshot


Phase 2
ecb eofspec → snipe → shadowtend → galeshot → rapid → dbow eofspec → grico → devo → bolg spec → divert → improvise until phased → ecb spec + adrenrenewal


Phase 3
Nefthys 1
deadshot → grico → snapshot (may have to improvise based on stacks)
Nefthys 2
galeshot → rapid → grico → snapshot → build adrenaline on Nakatra
Phase 4
Shadowsands
decimation eofspec → grico → snipe → piercingshot → build wenarrows + deathsporearrows while doing this, ideally end on 3-7 perfectequilibrium or may have to improvise later

Note: decimation multiplies stack generation, be careful not to consume wenarrows on snipe
Nakatra
deathsporearrows gdeathsswift → imbueshadows → ecb eofspec → fularrow bolg spec → galeshot → wenarrows rapid → deadshot → gloomfirebow eofspec → fularrow grico → snapshot → gloomfirebow eofspec → shadowtend → devo / reflect / divert + disrupt Magic hits → improvise

Example Kills
Attribution and source history
Adapted from Sanctum HM Solo Ranged by PvME contributors. Upstream source history. Licensed CC BY-NC-SA 4.0. Snapshot 074a9438f79d10fba75735791be0030734db8b5e. Formatting adapted for standalone MediaWiki; media and third-party references remain external links.