Temple of Aminishi Melee-Ranged (Hybrid) <img src="https://cdn.discordapp.com/emojis/1096130867279171706.png?v=1" alt="melee" title="melee" class="pvme-source-icon"> <img src="https://cdn.discordapp.com/emojis/580168050121113623.png?v=1" alt="ranged" title="ranged" class="pvme-source-icon">

Introduction
This is an advanced guide which assumes a strong underlying knowledge of all mechanics and information presented in ED1 Basic.
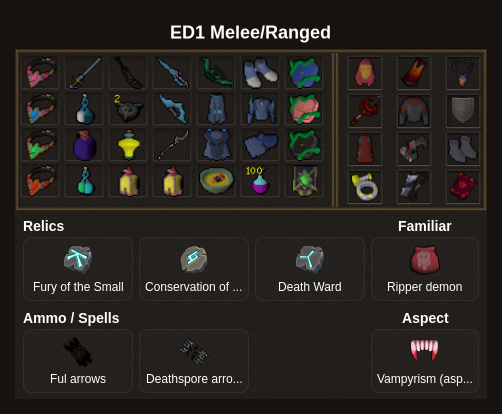
Presets and Relics
⬥ Melee/Ranged Guide illustration
Rotations
⬥ It is assumed tumekenslight is equipped for any mob clearing between bosses.

⬥ Camp amhej for the entire dungeon. eof varanussmercy is only used as a switch at the end on seiryu crystals.



⬥ This guide aims to achieve sub 6:00 timers with consistent Masuta water skips.
Wars
dba spec → equip tumekenslight


(optional: build 3+ bloodlust stacks before dba spec )

Start to Pre Sanctum
surge + dive towards left barrier


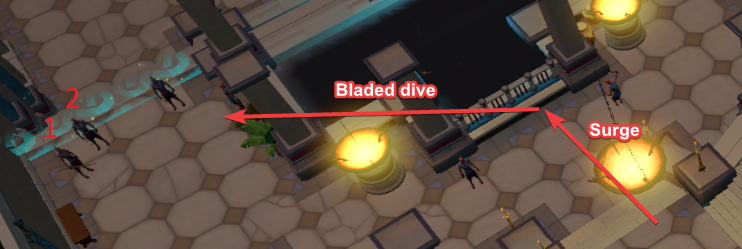
4 Elite Sotapannas
(tc) + chaosroar → meteorstrike


→ dive + surge + powerburstofacceleration → dive + surge → dive

9 Elite Sotapannas
berserk → (tc) + bloodlust cane


→ dive
3 Elite Sakadagami
dive / gbarge → (bloodlust) cane → surge + click door

4 Elite Sakadagami + 1 Elite Sotapanna
surge + dive + (tc) + tumekenslight spec
3 Elite Sakadagami

→ dive + surge → surge to move towards Sanctum Guardian
3 Elite Sakadagami
gbarge → cane + swap to ranged gear → deathsporearrows piercingshot → grico → piercingshot (→ rangedbasic) → gdeathsswift → imbueshadows + fularrow → ecb eofspec









→ surge into Sanctum instance
Sanctum Guardian
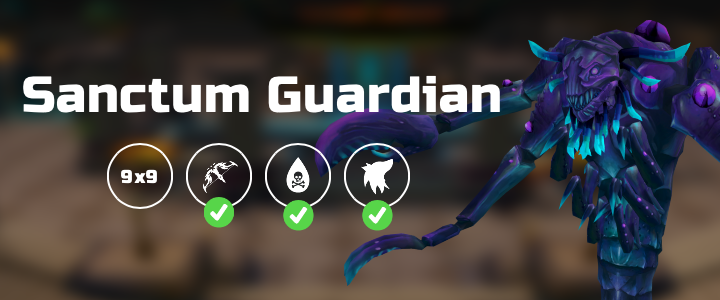
Sanctum Guardian
Note: camp soulsplit and run side to side to avoid Sanctum's AOE ranged autos and maximise splitsoul damage.


(tc) + vulnbomb + galeshot → rapid → bolg spec → deadshotigneous → sgb eofspec → gloomfirebow eofspec + adrenrenewal → snipe → gloomfirebow eofspec → grico → shadowtend (→ snapshot → snapshot → galeshot → rapid if not dead yet)







Post Sanctum to Pre Masuta
surge + gbarge an Eastern mercenary on the way to the next Cloaked Zealots.
→ surge
2 Cloaked Zealots

3 Cloaked Zealots
tumekenslight spec → (tc) + adaptivestrike
utilize gbarge, dive, and surge to move around the large center pool
1 Cloaked Zealot


3 Cloaked Zealots
6 Cloaked Zealots
2 Elite Sakadagami
gbarge → (target other Sakadagami) bloodlust cane
→ surge
4 Renegade Menaphite Soldier + 2 Eastern Mercenary
adaptivestrike + lure mobs together → chaosroar → bloodlust cane
4 Cloaked Zealots
rend → bloodlust cane (→ adaptivestrike)

equip ezk → dive + surge into Masuta instance

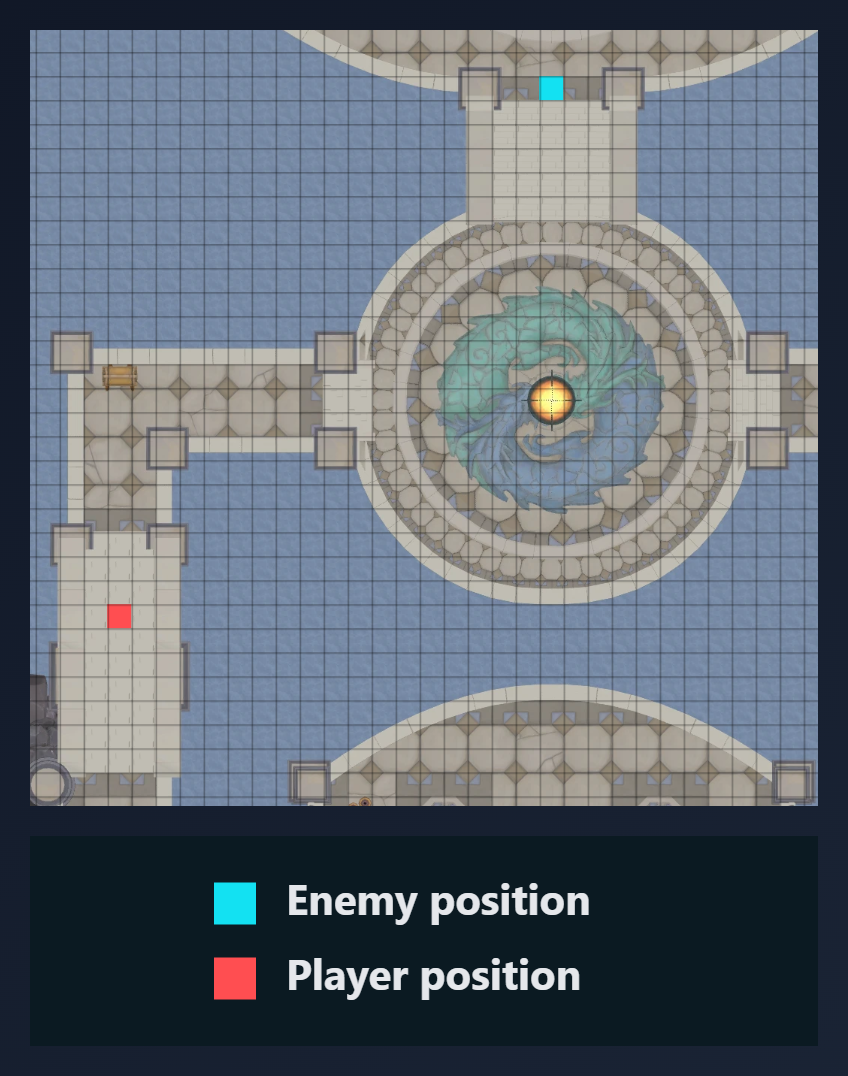
Masuta, the Ascended

Notes:
⬥ Refer to the Masuta Water Skip Explanation section for a more detailed explanation.
⬥ Use cease if required to avoid phasing past 275k too early.

⬥ Masuta should idealy be around 290-300k health after meteorstrike . Use defensives to build if his health is getting too close to 275k.
Phase 1 (1st Persistent Hurricane + Greater Shadow Tsunami + Pulverise)
(tc) + ezk spec → smokecloud → gfury → rend + switch to ranged gear →

fularrow imbueshadows → galeshot → grico → rapid → bolg spec → deadshot → grico → rangedbasic + switch to melee gear


dba spec + vulnbomb → equip ezk + spam basic abilities until 120% adren → wait for Masuta to use Greater Shadow Tsunami → meteorstrike → s adaptivestrike / anti → berserk

Phase 2/3 (Water Skip)
Wait for Persistent Hurricane to start:
gbarge → overpower → bloodlust assault / gflurry → devo → chaosroar → ezk spec → punish (bloodlust cane → punish if hp is high)


Masuta Water Skip Explanation
⬥ Masuta phases to the timelocked Thrashing Waters special at 275k hp, and can no longer phase after 55k hp. The goal of this rotation is therefore to kill Masuta on the 'Persistent Hurricane' spin attack (the long special attack) so it cannot phase into the Thrashing Waters phase, saving one minute on the Masuta kill.
⬥ Masuta's attack pattern has a random number of auto attacks between specials, but the number of auto attacks follows a normal distribution, meaning you will generally encounter the following pattern:
⬥ 2-4 auto-attacks
⬥ Persistent Hurricane
⬥ 3-5 auto-attacks
⬥ Greater Shadow Tsunami
⬥ 3-5 auto-attacks
⬥ Repeats from Hurricane
Post Masuta to Pre Seiryu
3 Defence Pylon
deflectmage + devo may still be active from Masuta. Otherwise use reflect while still 120 adren w/ vestments.


target middle left pylon on entry → gbarge + surge (→ reflect) → switch to ranged gear → dive
→ target middle pylon in group of 3 → deathsporearrows bombard → grico → piercingshot → rangedbasic → deathsswiftness → imbueshadows + fularrow → ecb eofspec → dive + surge into seiryu instance


Seiryu, the Azure Serpent
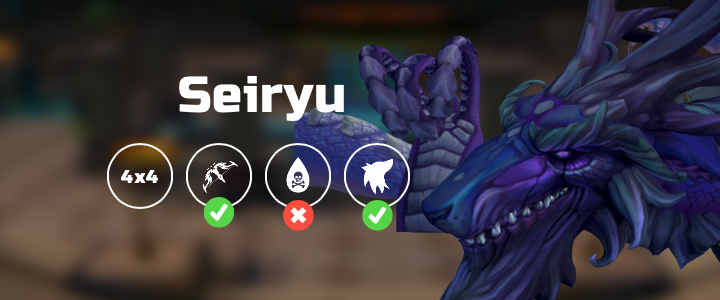
Seiryu
(tc) + vulnbomb + galeshot → rapid → bolg spec → deadshotigneous → sgb eofspec → gloomfirebow eofspec → grico → snipe → shadowtend + switch to melee gear → meteorstrike + dive + start climbing
Crystal 1
berserk + (tc) + equip lengmh lengoh → gbarge + vulnbomb → overpower + dommine → bloodlust gflurry → chaosroar → bloodlust cane


Crystal 2
(click crystal) + gfury + vulnbomb → overpower + → lengmh spec → varanussmercy eofspec → punish (→ pulverise if not dead)
Crystal 3
(click crystal) + rend + vulnbomb → overpower → varanussmercy eofspec → bloodlust gflurry (8t) → (cancel with bloodlust cane when in KO range)
Note: damage on crystals can have high variance due to scriptureofful procs and crits. Improvise as needed.

Example Kills
Attribution and source history
Adapted from ED1 Melee Ranged by PvME contributors. Upstream source history. Licensed CC BY-NC-SA 4.0. Snapshot 074a9438f79d10fba75735791be0030734db8b5e. Formatting adapted for standalone MediaWiki; media and third-party references remain external links.