Low Effort Rasial
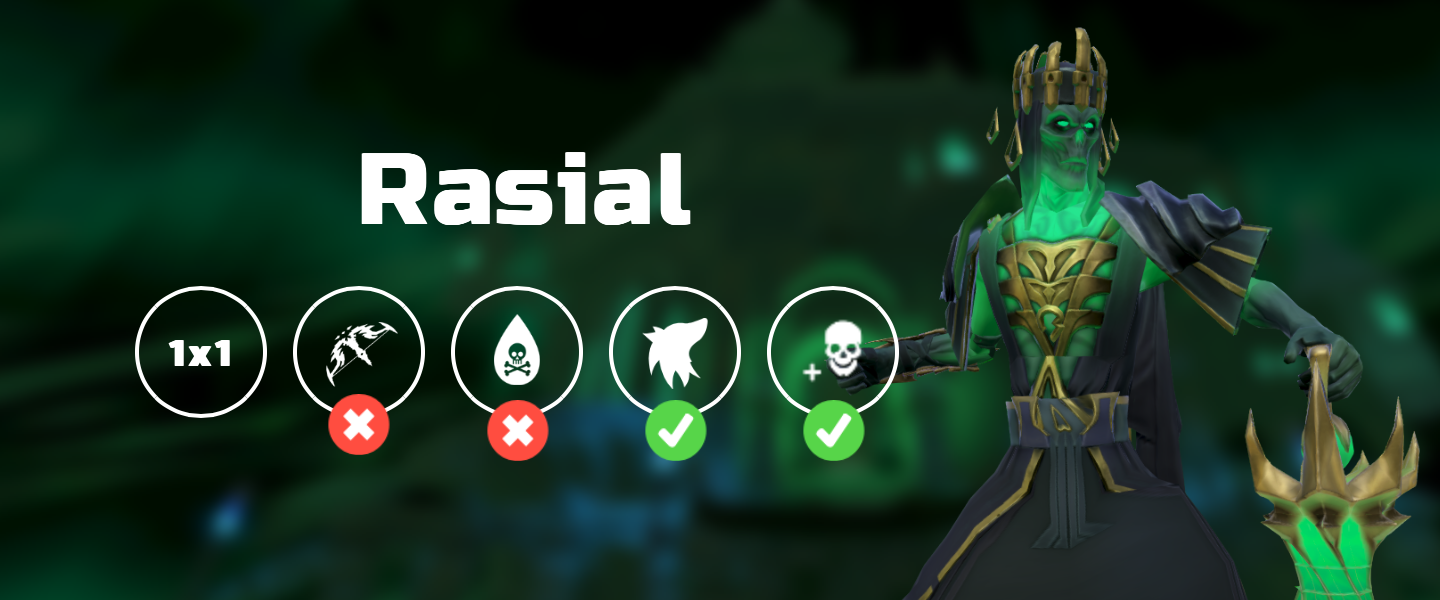
Disclaimer
⬥ IF YOU CANNOT GET A METHOD TO WORK DO NOT MESSAGE THE CREATOR(S)
• It is more than likely user error or cutting corners, use PvM help (external Discord) if you cannot get it to work
Positioning

Necromancy Low Effort Method (20+ kph) necromancy

Overview
⬥ The following ARE REQUIRED for this method to work:
• Cutting corners will result in failure
• A more extensive list can be found in AFK Overview
Items
⬥ At least 4 pieces of the First Necromancer's equipment firstnecrocrown
⬥ Zemouregal's Nexus zemouregalsnexus
• Deathwarden Nexus may not be as consistent
• Do NOT use The Devourer's Nexus. Using this will result in failure.


Perks


Abilities
⬥ Conjure Undead Army conjurearmy
• Have all 4 conjures selected
⬥ Greater Bone Shield greaterboneshield


Other
⬥ Vampyrism aspect vampyrismaspect
• Can be multi-cast to last 60 minutes
⬥ Pray soulsplit and ruination
• sorrow may not be as consistent
⬥ Hellhound hellhoundpouch
⬥ Bonfire Boost firemaking and Ogre flask (thermal) thermalflask
• Wear HP boosting equipment
• Totem of Vitality vitalitytotem preferred over Bonfire firemaking
⬥ Teleporting to War's Retreat after every kill to replenish prayer, adrenaline, familiar and player health, and reset cooldowns.





Presets and Relics
⬥ Necromancy preset necromancy

Action Bar

The fight
⬥ Rejoin instance → surge or dive to the starting position → prismofrestoration → invokedeath → use vulnbomb at the start of the fight.




• In rare cases, you may die
Example Kills
Attribution and source history
Adapted from Low Effort Rasial by PvME contributors. Upstream source history. Licensed CC BY-NC-SA 4.0. Snapshot 074a9438f79d10fba75735791be0030734db8b5e. Formatting adapted for standalone MediaWiki; media and third-party references remain external links.